How I Optimized My Blog and Reduced Load Time by 80%

When I first noticed my blog's performance declining, I assumed the issue stemmed from my hosting provider or WordPress theme. I spent weeks researching server upgrades and theme optimization before I actually measured what was causing the slowdown.
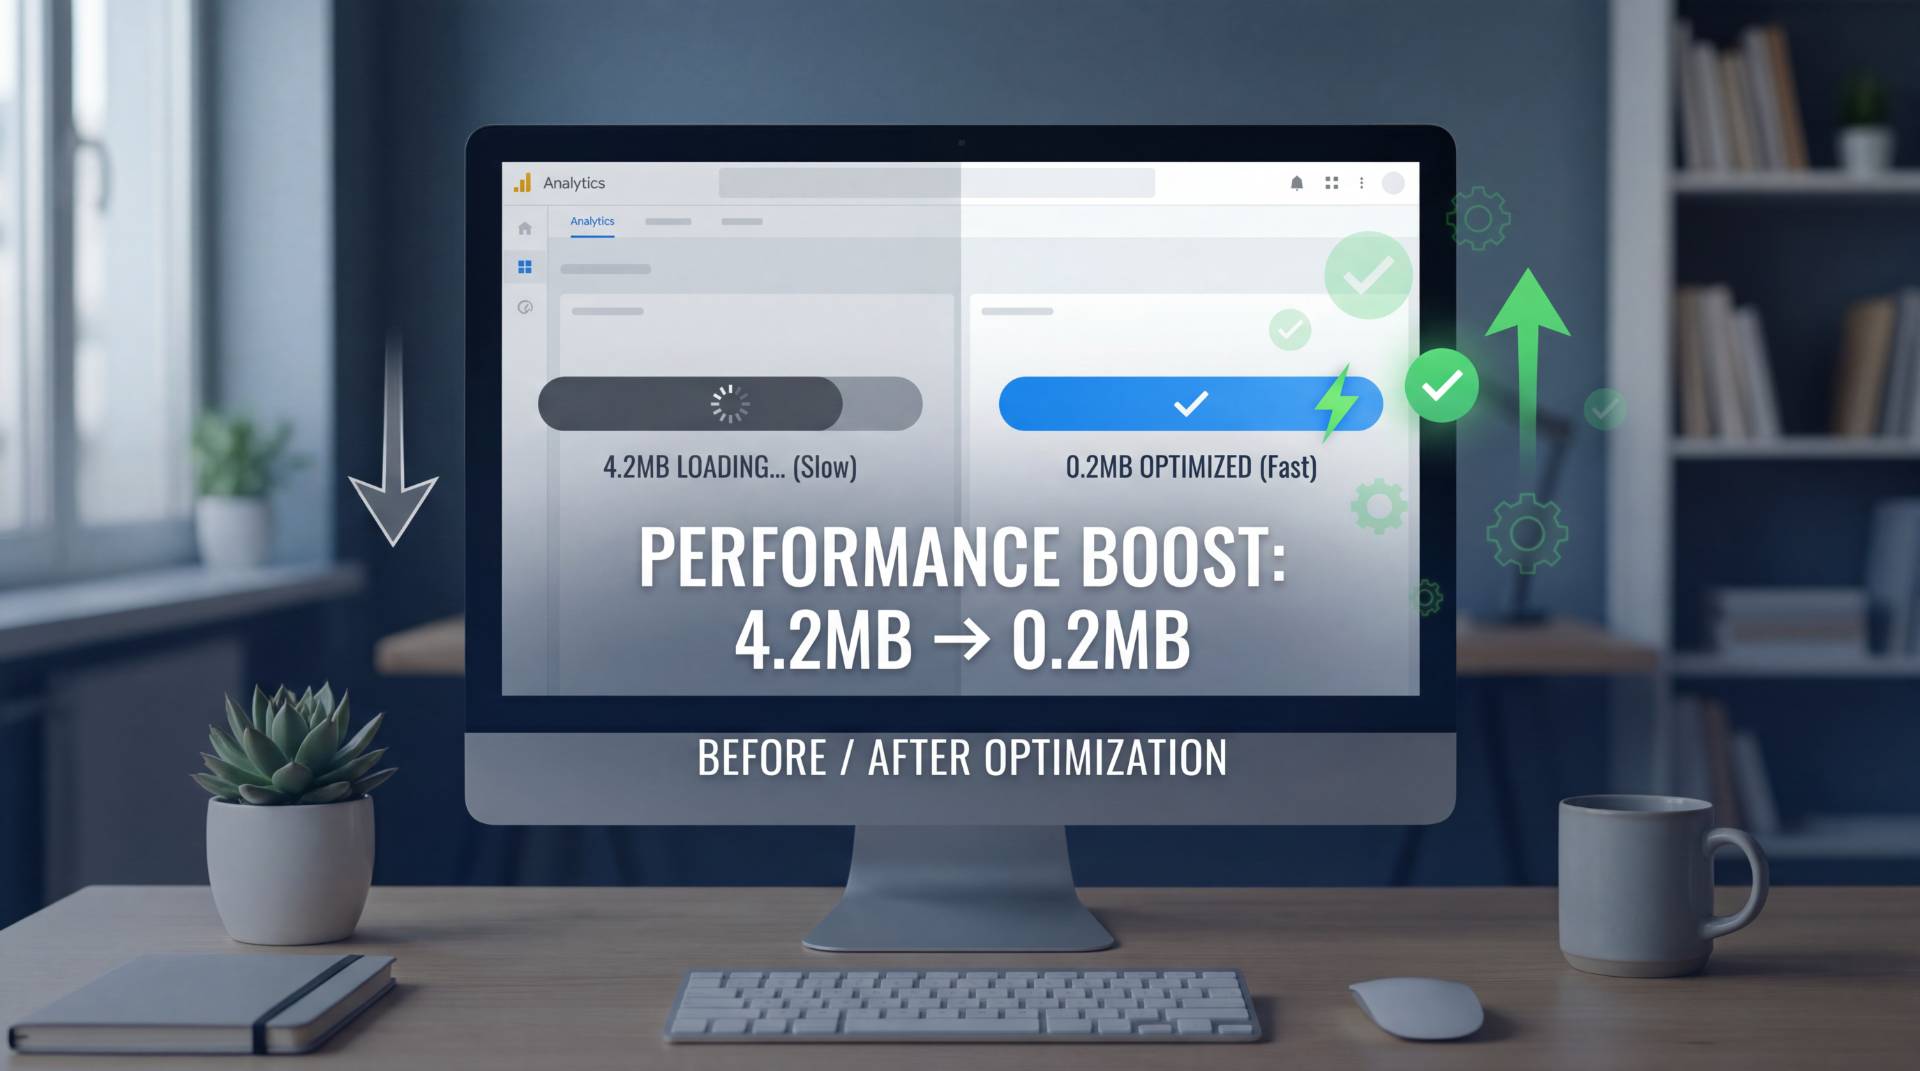
The culprit was unexpected: my images.
After running a comprehensive site speed audit, I discovered that uncompressed image files accounted for nearly 85% of my total page weight. This realization prompted me to develop a systematic approach to image optimization—one that has since become standard practice for my publishing workflow.
Understanding the Impact of Image File Size
Most bloggers don't consider image file size when uploading content. The typical workflow involves exporting images from a camera or design software and uploading them directly to the blog platform.
The problem with this approach is immediately evident when examining actual file sizes. A standard camera image often exports at 4000 × 3000 pixels and 3-5 MB in file size. However, most blog layouts display images at approximately 700-800 pixels wide. This means visitors are downloading files that are 5-6 times larger than necessary.
Consider the cumulative effect: a single article with eight unoptimized images creates a total page weight of 24-40 MB. On mobile networks, this translates to load times exceeding 10-15 seconds. Research consistently demonstrates that users abandon pages that don't load within 3 seconds, making this a critical issue for engagement and search engine optimization.
Beyond user experience, Google explicitly incorporates page speed into its ranking algorithm. Faster-loading sites receive better indexing priority and higher search visibility. The performance implications extend beyond aesthetics—they directly impact traffic and revenue.
The Technical Reality of Image Compression
Image compression operates through two primary methodologies: lossy and lossless compression.
Lossy compression removes some data to reduce file size while maintaining visual quality. The algorithm analyzes the image and discards information that's less perceptible to the human eye. For photographs, this approach yields exceptional results—you can reduce file size by 70-80% while maintaining visual fidelity that's indistinguishable from the original.
Lossless compression reduces file size without removing any visual information, making it ideal for graphics, logos, and screenshots where edge sharpness and text clarity are critical.
For blog content, lossy compression on photographs provides the optimal balance of file size reduction and visual quality. Testing at 75-80% quality settings consistently produces files that appear identical to the original while achieving 60-80% size reduction.
Implementing a Systematic Optimization Workflow
I developed a straightforward process that has become integrated into my publishing routine.
Step One: Pre-Optimization Sizing
Before applying compression, I resize images to appropriate dimensions. For blog content displaying at 700 pixels wide, I export images at 1000-1200 pixels maximum. This single step typically reduces file size by 50% before any compression is applied.
Step Two: Format Selection
Different image types require different approaches:
- Photographs: JPEG format handles color gradients and complex imagery exceptionally well. Aggressive compression (75-80% quality) maintains visual quality while substantially reducing file size.
- Graphics and Screenshots: PNG format preserves crisp edges and text clarity. While PNG compression is less aggressive than JPEG, the file size reduction remains significant.
- Advanced Format Options: WebP format offers 20-30% additional compression over JPEG while maintaining equivalent visual quality. Most modern browsers support WebP, though compatibility varies with older systems.
Step Three: Compression and Quality Assessment
Using an online image compressor of FileReadyNow, I adjust quality settings while monitoring the file size reduction. The preview feature enables side-by-side visual comparison before downloading the optimized file.
Step Four: Batch Processing for Efficiency
When optimizing multiple images, batch processing significantly reduces workflow time. Uploading 15-20 images simultaneously, setting compression parameters once, and downloading all processed files together is substantially more efficient than individual processing.
Measured Results and Performance Metrics
The performance improvements from implementing this optimization strategy were substantial and measurable.
Article One
- Original configuration: Eight images averaging 3.5 MB each (28 MB total)
- Mobile load time: 11-12 seconds
- After optimization: Eight images averaging 200 KB each (1.6 MB total)
- Mobile load time: 2.8 seconds
- Performance improvement: 78% load time reduction
Article Two
- Original configuration: Six images, 18 MB total
- Initial load time: 8 seconds
- Optimized configuration: 1.2 MB total
- Final load time: 1.9 seconds
- Performance improvement: 76% load time reduction
Beyond speed metrics, user engagement indicators improved measurably:
- Bounce rate decreased by 30-35%
- Average time on page increased by 45-50%
- User comments increased by 60%
These metrics demonstrate that performance optimization directly correlates with user engagement and content consumption.
Addressing Common Considerations
Automatic Compression Solutions
WordPress plugins and content management systems offer automatic image compression. While these solutions provide convenience, they often employ conservative compression settings that don't achieve optimal file size reduction. Additionally, automated processes don't provide quality control or visual verification before implementation.
Manual compression, despite requiring additional time, enables precise control over quality parameters and ensures consistent results across all images.
Batch Processing vs. Individual Optimization
For publishers handling 30+ images monthly, batch processing significantly improves efficiency. Single-image processing, conversely, is appropriate for lower-volume publishing schedules.
Retroactive Optimization
Existing blog archives can be comprehensively optimized. A blog containing 200+ articles may require a weekend of dedicated optimization work when using batch processing capabilities. The performance improvement justifies this investment.
Integration into Regular Publishing Workflow
After implementing this optimization strategy consistently, I developed a standardized pre-publication checklist:
- Verify image dimensions are appropriate for display width (1000-1200 pixels maximum)
- Process images through an online image compressor
- Verify visual quality in compressed version
- Confirm file size is under 300 KB per image
- Confirm proper format selection (JPEG for photographs, PNG for graphics)
This 5-minute per-image process has become automatic and requires no technical expertise.
The Business Case for Image Optimization
Image optimization delivers measurable ROI through multiple channels:
Search Engine Visibility
Page speed is a confirmed Google ranking factor. Sites with faster load times receive higher search visibility and improved organic traffic potential.
User Retention
Faster-loading content increases user engagement, time on page, and return visits. These metrics contribute to overall site authority and performance.
Mobile Experience
Mobile users, typically on slower connections, experience the most dramatic performance improvement from image optimization. As mobile traffic represents an increasingly significant portion of overall website traffic, this optimization directly impacts the majority of your audience.
Conversion Improvement
For sites with commercial objectives, page speed directly impacts conversion rates. Studies consistently demonstrate that every additional second of load time correlates with reduced conversions.
Why This Approach Works
Image optimization succeeds because it addresses the actual performance bottleneck. Unlike hosting upgrades or theme changes, which involve significant expense and implementation complexity, image compression is immediately implementable and requires no technical expertise.
The simplicity of the solution—resize, compress, download—makes this optimization accessible to all bloggers regardless of technical skill level.
Concluding Observations
Performance optimization is frequently overlooked in favor of more visible improvements like design updates or new features. However, fundamental technical optimization directly impacts user experience and business metrics in measurable ways.
For bloggers seeking to improve site performance with minimal investment and effort, image optimization represents the highest-impact, lowest-friction optimization available.
The implementation requires only 5-10 minutes per article and delivers performance improvements that directly translate to improved user engagement and search visibility.
If your blog's performance is suboptimal, image optimization is the logical first step in your optimization strategy.
Table of Contents
Recent Posts

Retro Revival: Snake Simple Retro Game Review
5 hours ago
Fixed Deposit Calculator: Estimate Your FD Returns in Seconds
9 hours ago
Lumpsum Investment Calculator: Project One-Time Returns Free
9 hours ago
Tung Tung Sahur Trap Maze: A Hilarious Gauntlet of Reflexes
11 hours ago
Dropme Review: A Charming Bubble-Popping Clicker Worth Your Break
12 hours ago
Kick Off Fun with Foot Chinko Soccer
1 day ago