How to Compress JPG Files to 200 KB Online

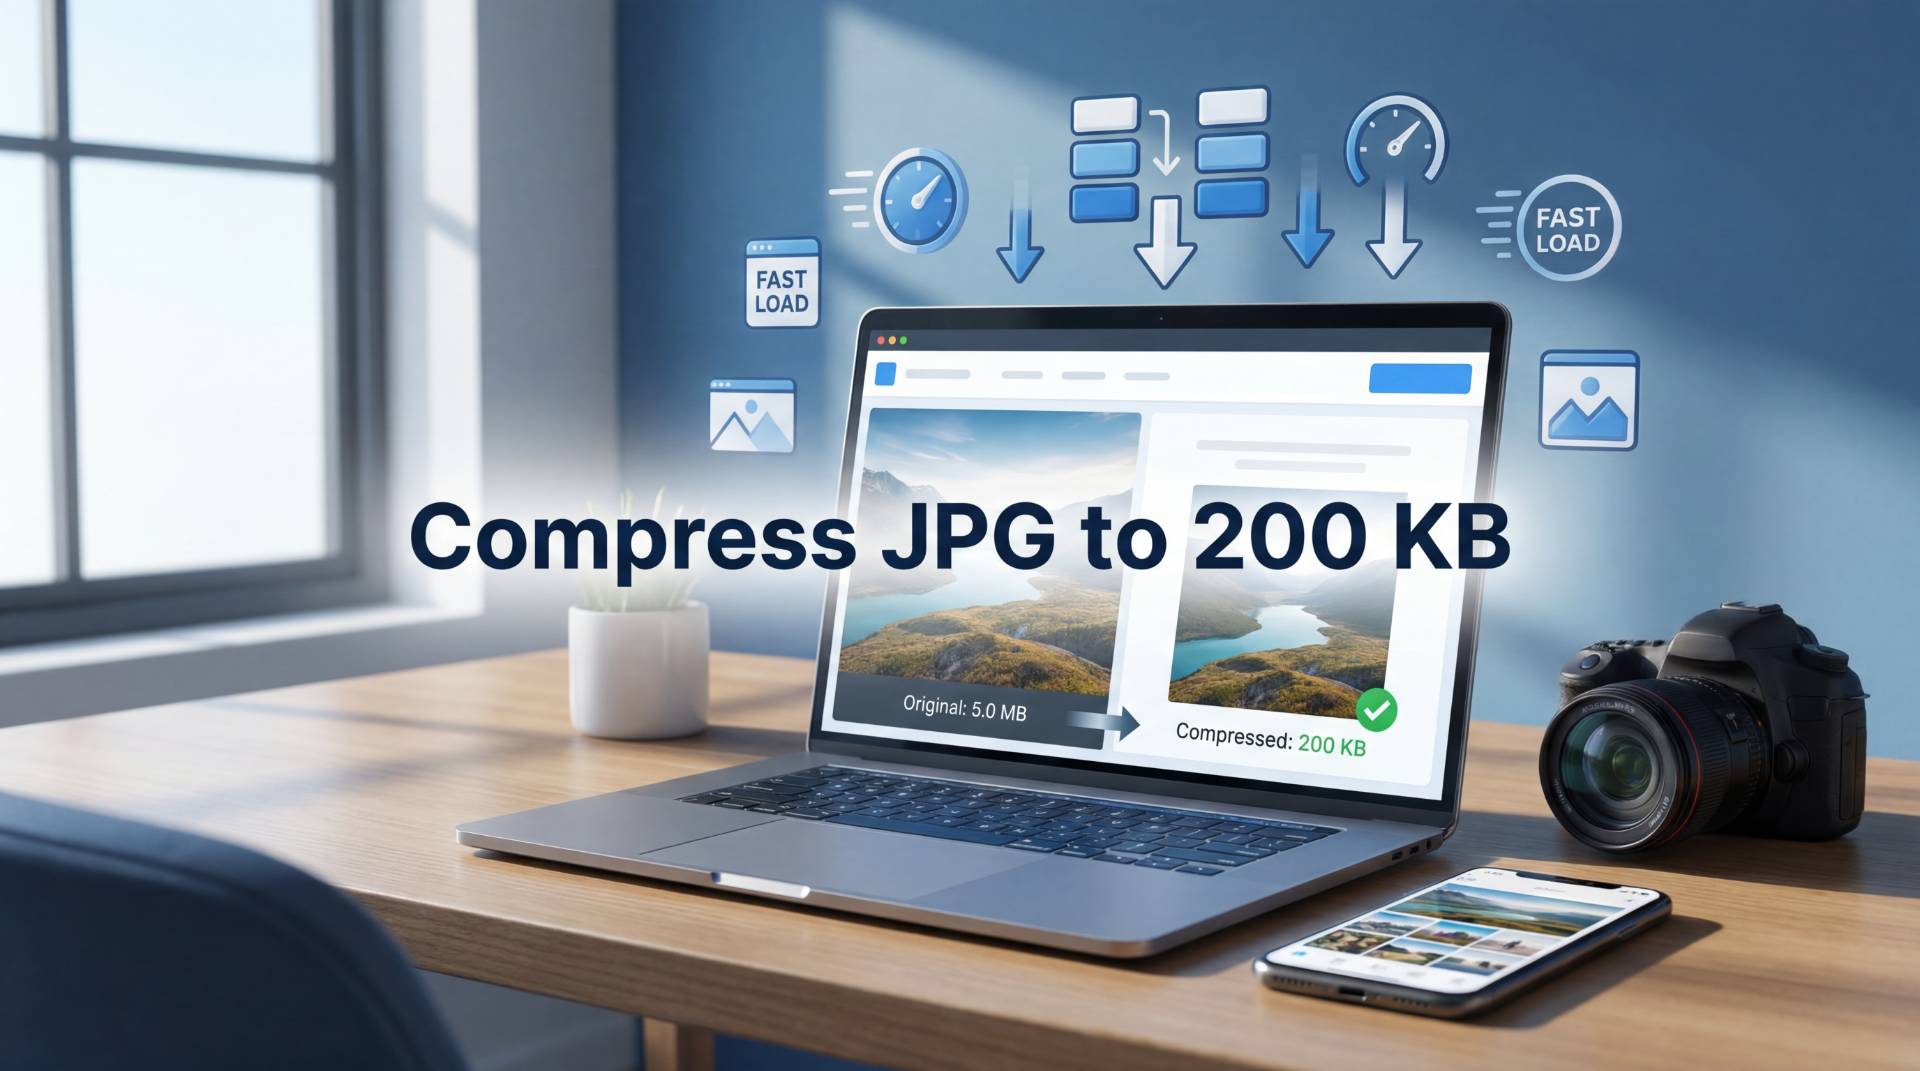
So I had this problem last year. I was shooting product photos for my small business, nothing fancy, just using my phone and a decent camera. Everything looked great until I tried uploading it to my website. Every single image was rejected for being too large.
My host had a 500 KB limit per file. My camera was producing 4-5 MB files. I didn't know what to do. I thought maybe I needed better equipment or some expensive software. Turns out, I just needed to compress my images.
That one realization saved me hundreds of dollars and probably 40 hours of frustration.
Why Your JPGs Are So Bloated
Your camera or phone doesn't care about file size. It's capturing as much information as possible. Every pixel, every color variation, every tiny detail gets stored. That's why raw files from a decent camera can be 20+ MB.
JPG format helps by compressing the original, but it's still way bigger than what you actually need for the web.
Think about it. When someone visits your website on their phone, they're looking at a screen that's maybe 400 pixels wide. Your 4000-pixel image is complete overkill. You're sending them a 5 MB file when they can only see a fraction of it at smaller size anyway.
Getting images down to 200 KB is the sweet spot. Big enough that they still look good. Small enough that pages load in reasonable time.
Here's What Compression Actually Does
JPG works by throwing away data your eyes can't really see. It's smart about it—not random.
If you have a blue sky in your photo, JPG doesn't store information about every single pixel. It stores "this area is blue" and smooths it out. Your brain doesn't notice. But the file size drops dramatically.
The quality slider you see is basically saying "how much detail are you willing to sacrifice?" At 100%, you keep everything. At 80%, you're throwing away some fine detail. At 50%, it starts looking noticeably compressed.
For most stuff, 75-80% quality is invisible to the human eye. That's where 200 KB usually lands.
Read also: What Is Image Compression And How Does It Work?
The Fastest Way: Just Go Online
I spent way too long learning Photoshop shortcuts before I realized I could just use a website.
Open a browser. Find an online compressor. Drag your file in. Pick a quality level. Download. Five minutes tops.
I use an online image compressor when I'm in a rush. Upload, slide the quality to around 75, check the preview, download. Done.
There's no trick here. No weird steps. Just a straightforward tool that does one thing well.
When I Crack Open Photoshop
I use Photoshop when I'm already editing something anyway. If I'm cropping, adjusting colors, whatever—I'll export from there instead of using an online tool.
File menu. Export As. Pick JPG. Quality slider to 75. Save.
The advantage is you're already in Photoshop, so you're not switching tabs or uploading anywhere. One less step.
The disadvantage is you need Photoshop, which costs money, and it's slower than an online tool if that's all you're doing.
Your Operating System Probably Has Something Built In
Windows has a compress pictures feature buried in right-click menus. Mac's Preview app lets you export at different qualities. They work, but they're not great because you don't get much feedback before committing.
I use these when I'm already in a folder and don't want to open a browser. Quick and dirty.
If You've Got Hundreds of Photos
That's a different beast. I've dealt with this for photography clients who shoot a ton of images.
Command line tools like ImageMagick are fast. You can process 100 images in seconds. But it requires knowing how to use the terminal, which most people don't.
For the average person? You're probably not dealing with hundreds of images at once. And if you are, you're probably going to batch process them anyway, which is beyond the scope of this.
The Numbers You Actually Need to Know
- Quality at 85%: Usually looks identical to the original. File size depends on the dimensions, but a 2000-pixel wide photo would be maybe 300-400 KB.
- Quality at 75%: Still looks great. Same size photo comes down to maybe 150-250 KB.
- Quality at 65%: Starting to show compression. Gets you down to 100-150 KB.
- Quality at 50%: Noticeably compressed. Maybe 50-100 KB, but it looks rougher.
The catch? These numbers assume you're not resizing. If your original is 4000 pixels wide and you compress at 75%, you're still going to get a big file. You need to scale it down too.
Resizing Helps More Than You'd Think
A lot of people don't realize this. Smaller dimensions = smaller file size, way more than just adjusting quality.
If you've got a 4000-pixel wide photo and need it for the web, scale it down to 1600 pixels. Now you're working with 1/4 the data. Compress at 75% and boom, you're at 200 KB easy.
You don't lose quality with resizing like you do with aggressive compression either. A 1600-pixel image on a website looks perfect. Nobody needs 4000 pixels for web.
Real Example From My Work
I had a client with product photos from a professional photographer. Beautiful stuff. Each one was 6 MB.
Their website couldn't handle files that large. I could've asked them to get lower-resolution versions from the photographer. Instead, I just scaled them down to 1600 pixels wide and compressed them to 75% quality.
Total size: 185 KB per image. Looked virtually identical on the website. They saved time waiting for uploads. Pages loaded faster. Everyone was happy.
That's the power of understanding what you're actually doing.
Mistakes I've Made
I once compressed a photo to 200 KB, saved that as my only copy, and then later needed the original at higher quality. Couldn't get it back. Now I always keep the original and save the compressed version with a different name.
I've also been paranoid about file size and compressed things way too much. Images ended up looking blocky. There's a balance. You're not trying to save a kilobyte at the cost of image quality.
I've tried compressing already-compressed files. Each round degrades the image a bit. Compress once. Save that. Use it forever.
When You Actually Need This
- Uploading to a website with file limits? Definitely compress.
- Making a website that loads fast? Compress everything. Speed matters.
- Emailing photos to someone? Compress them. Smaller files, faster for them to download.
- Posting on social media? Sites compress anyway, but smaller files upload faster on your end.
- Archiving for storage? Keep originals. But if you need to save space, compressed versions take up way less room.
What Tools Exist
- Online compressors: FileReadyNow, TinyJPG, CompressJPEG, etc. All do basically the same thing. Plug your file in, pick settings, download. Takes a minute.
- Editing software: Photoshop is the industry standard but pricey. GIMP is free. Both give you precision.
- Built-in stuff: Windows right-click menu, Mac Preview app. Quick and dirty.
- Command line: ImageMagick for batch work. Overkill for most people.
The Process I Use Now
- I open an online image compressor in my browser.
- Drag my JPG onto the screen.
- Look at the settings. Usually the default is fine, but I might adjust quality if I know I need it smaller.
- Preview looks okay? Download.
- Repeat if needed. Sometimes I need to dial it down more to hit exactly 200 KB.
That's it. Takes longer to explain than to actually do it.
Why Size Matters
Google ranks websites based partly on speed. Faster sites get better visibility. Smaller images load faster. It's a chain reaction that starts with compression.
Your visitors also appreciate it. Nobody likes waiting for pages to load. They'll bounce and go to a competitor's site instead.
From a practical standpoint, smaller files are just easier to deal with. Upload faster. Send faster. Store more of them.
On Quality and Whether You Should Worry
I've compared original and compressed images side by side many times. At 200 KB with 75% quality, I genuinely can't see a difference on screen. Maybe in a lab setting with pixel-level analysis, but in real use? No difference.
The only time quality becomes an issue is if you're printing the photo. Then you want the original. But web? You're fine.
Why I Started Doing This
Honestly, it was frustration. I had this website that was slow, and I couldn't figure out why. Someone mentioned images were the problem. I thought about replacing equipment or paying for better hosting.
Turns out, compressing images to reasonable sizes solved like 80% of the problem. Cheaper. Faster. Simpler.
Now it's just part of my routine. Before I upload anything, it gets compressed. Takes seconds and saves headaches later.
Honestly, That's All There Is
You take a big image file. You run it through compression. You get a smaller file that still looks good. You upload that instead.
It's not complicated. It's not expensive. It's not time-consuming.
But it solves a real problem that a lot of people struggle with. If your files are too big, compress them. If you don't know how, use an online tool. Problem solved.
Frequently Asked Questions
You can compress a JPG file to 200 KB by reducing the image quality and resizing the dimensions if needed. Most online image compressors allow you to upload the image, adjust the compression level, and download the optimized file within seconds.
.Yes, JPG compression slightly reduces image quality, but at around 75–80% quality, most images still look sharp and clear to the human eye. For websites, social media, and email uploads, the difference is usually unnoticeable.
For most websites, images between 100 KB and 300 KB work best because they load quickly without sacrificing visual quality. Resizing large photos to around 1600 pixels wide before compression can help achieve the perfect balance between quality and performance.
Table of Contents
Recent Posts
PDF to JPG Blurry? How to Convert a PDF Page With Sharp Text
5 days ago
HEX vs RGB vs HSL vs CMYK: Which Color Code Should You Use?
1 week ago
Video Converter Online Free: Which Format to Pick and Why
2 weeks ago
Audio Trimmer Online Free: Cut, Keep, or Remove Any Section
2 weeks ago
How Strong Should Your Password Actually Be in 2026?
3 weeks ago
HEIC vs JPG: Which Should You Actually Use?
1 month ago