Video Thumbnail Generator Online Free: Grab the Exact Frame You Need

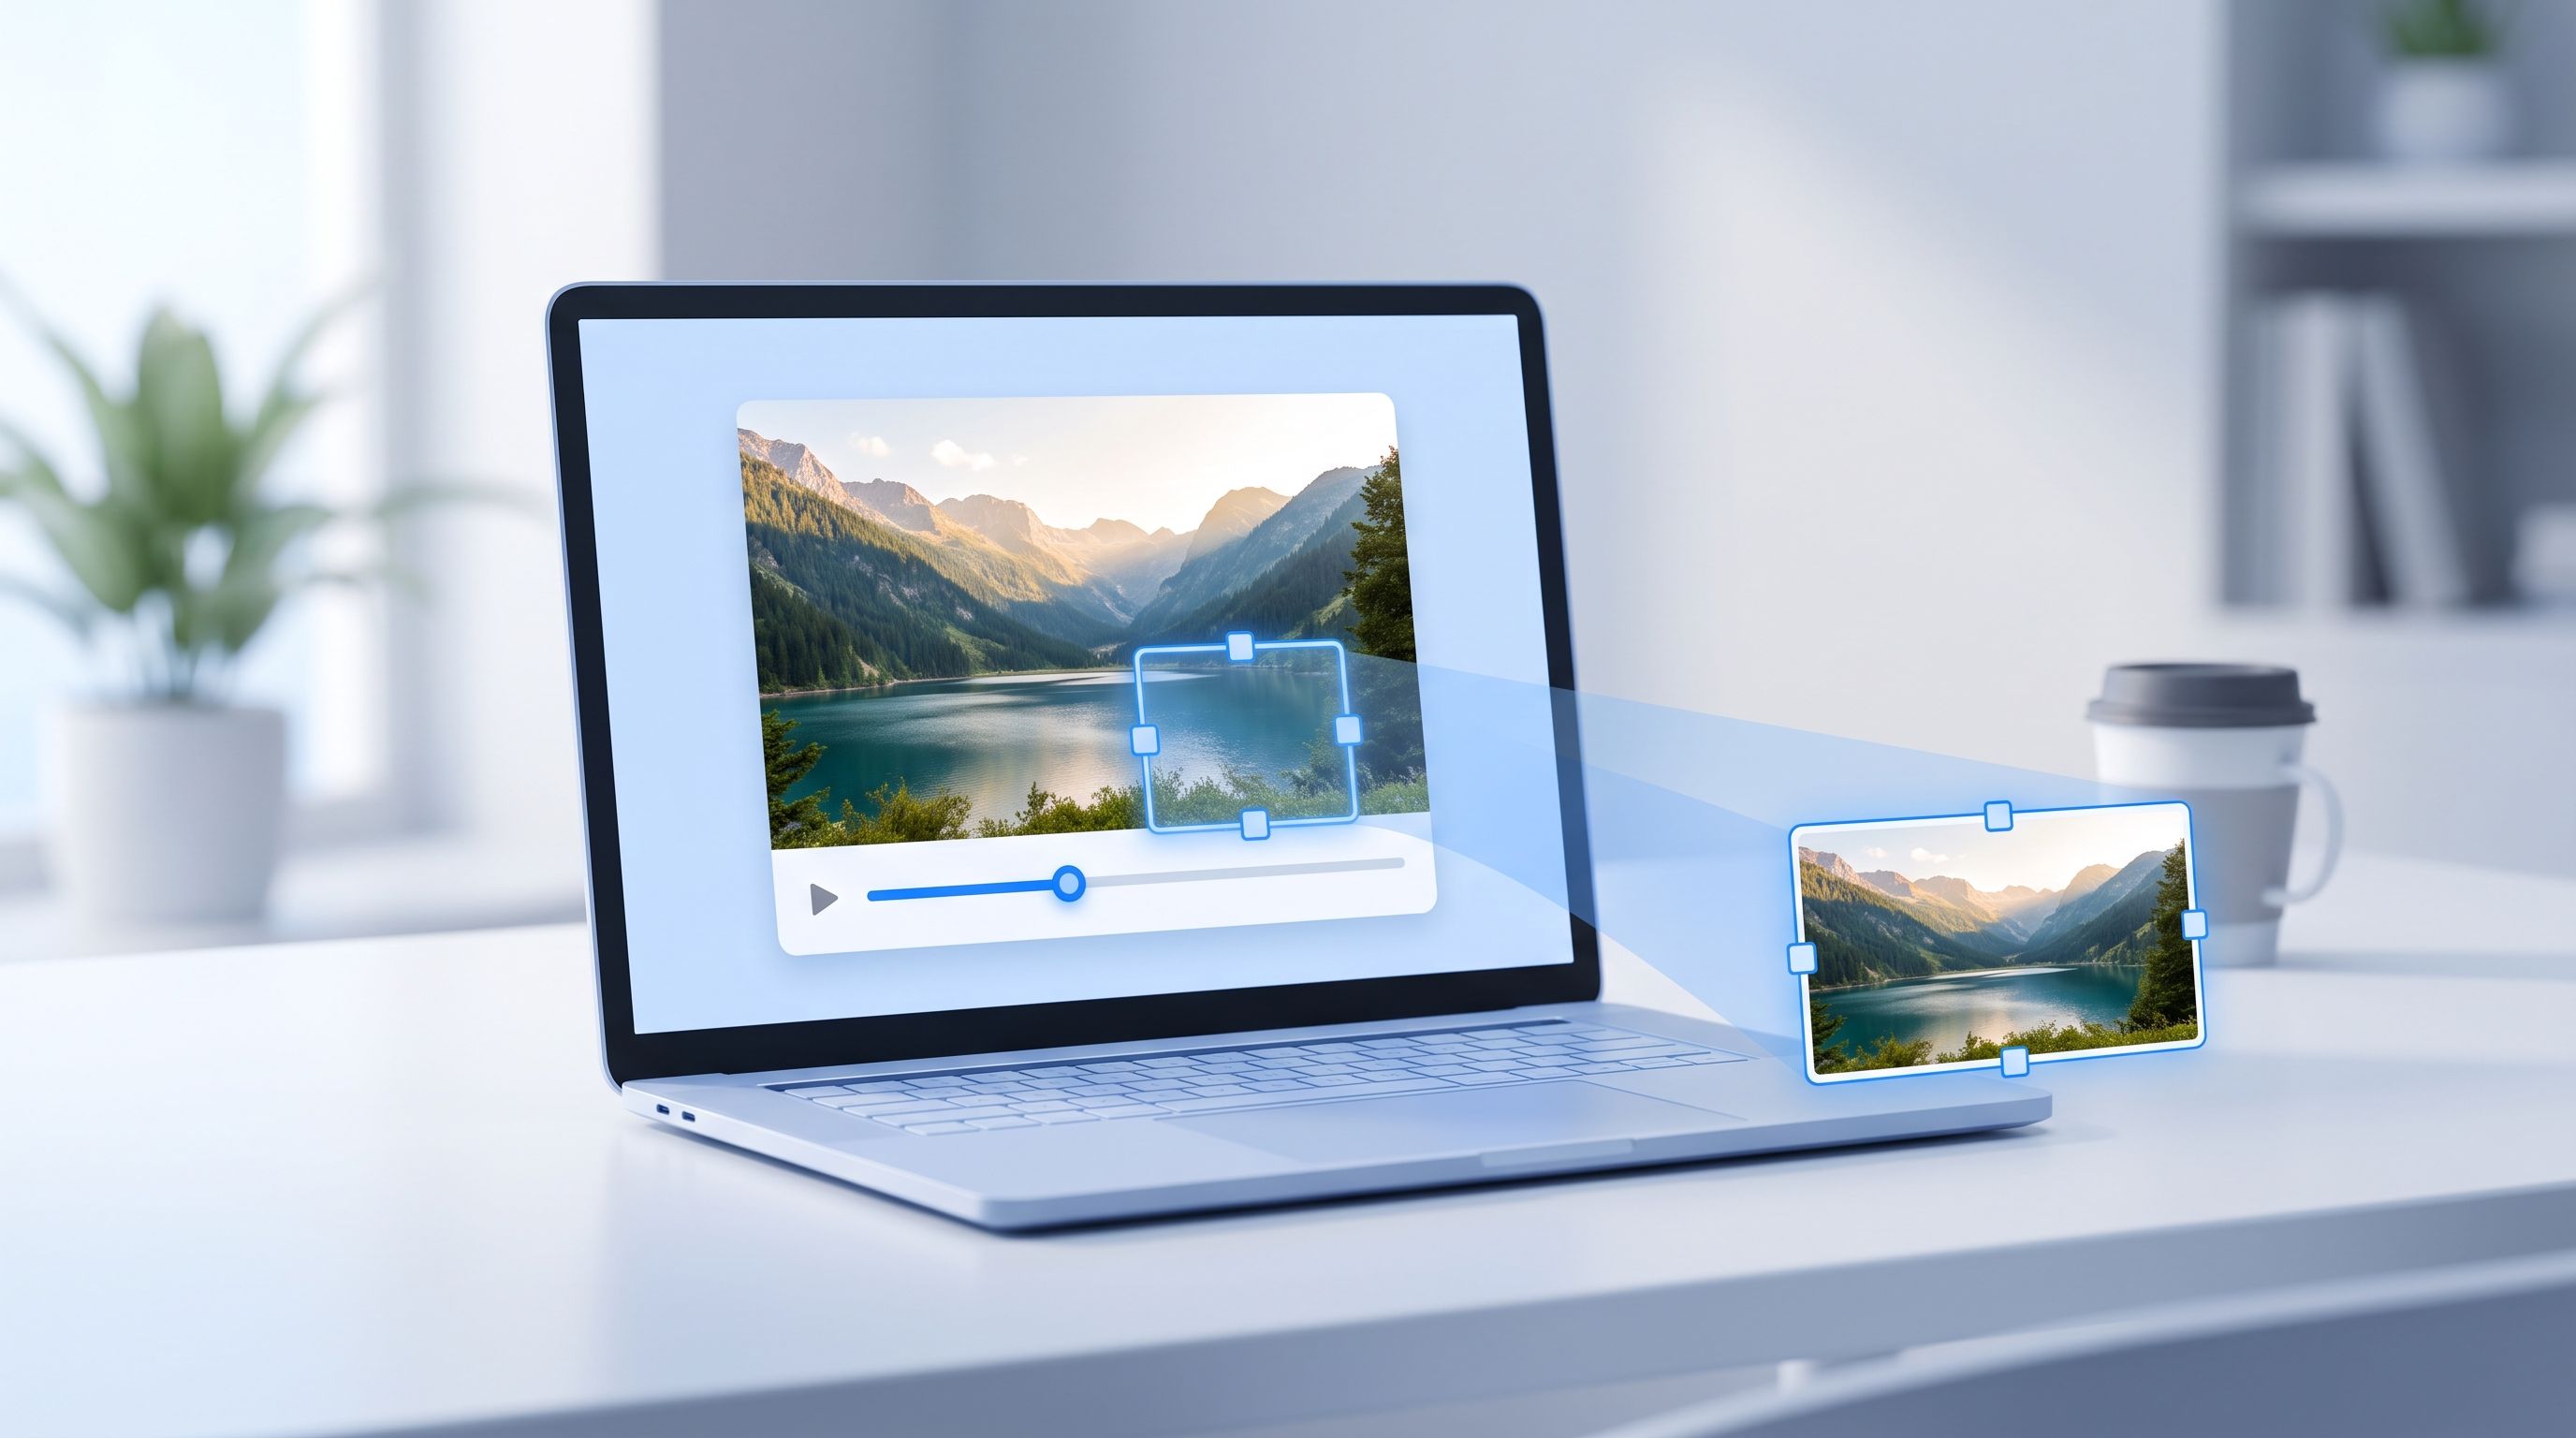
I record short demo clips for our tool pages, and I always used to grab thumbnails the same clumsy way: play the video, pause roughly where I wanted, take a screenshot, then crop out the browser chrome and video player controls that snuck into the shot. Half the time the frame was slightly blurry from mid-motion, and I'd redo it two or three times. Once I started using FileReadyNow's video thumbnail generator instead, that whole process became one clean click. Step to the exact frame, capture, done, at the video's full native resolution.
How to Generate a Video Thumbnail Online for Free
Upload your video, scrub or step to the frame you want, and click capture. The frame saves as an image at the video's native resolution, with no upload to a server and no account needed.
The steps in order:
- Drop your video into the upload box, MP4, AVI, MOV, or WebM, up to 500 MB.
- Use the timeline, playback speed, or frame-step buttons to find the exact moment.
- Click Capture Current Frame for a single image, or switch to Batch Capture for multiple.
- Pick your output format and download the result, or the whole set as a ZIP.
Everything happens locally in your browser using the video file already loaded on your device, so nothing gets uploaded anywhere in the process.
Manual Capture or Batch Capture: Which Do You Need?
Manual capture is for finding one specific, perfect frame. You step forward or backward one frame at a time, at full speed or slowed down to 0.25x, until you land on exactly the right expression or moment, then capture it. Batch capture is for coverage rather than precision. Set an interval, every 5 seconds, every 10 seconds, every 2 percent of the video, and the tool automatically works through the file pulling a frame at each point.
Reach for manual capture when the thumbnail matters, a YouTube cover, a course preview, anything where one frame needs to represent the whole video well. Reach for batch capture when you need a lot of frames fast, storyboarding a long recording, building a visual index of a screen capture, or reviewing footage without watching the whole thing back. Batch results come out in a grid you can browse, arranged by however many columns you choose, and everything downloads together as a ZIP.
What Resolution Do the Extracted Thumbnails Come Out At?
Whatever resolution the source video is, since the tool doesn't upscale or downscale anything. A 1080p video gives you a 1920 by 1080 image. A 4K video gives you 3840 by 2160. What's in the file is what comes out.
A lot of screenshot workarounds end up capturing whatever your screen or browser window happens to be rendering at, which is rarely the video's actual resolution and often includes compression artifacts from the player itself. Pulling the frame directly from the video data avoids all of that, so a 4K source stays 4K in the exported image.
PNG, WebP, or JPG: Which Format Should You Pick?
PNG is lossless and the best choice if you plan to edit the frame further or need exact color accuracy. WebP is also lossless but produces a smaller file. JPG gives you the smallest file size of the three, which matters if the thumbnail is going straight into a CMS, an email, or a web page where load time counts.
If you're not sure, PNG is the safe default for anything you'll touch again in an image editor. If the frame is a finished thumbnail headed straight to YouTube or a blog post, JPG or WebP keeps the file lean without a visible quality drop at normal viewing sizes.
What Size Should a YouTube Thumbnail Be?
YouTube recommends 1280 by 720 pixels, a 16:9 ratio. You can either leave the width field empty to capture at your video's native resolution and resize afterward, or set the width directly in the tool before capturing so the export matches YouTube's spec right away.
Most modern recordings are already 1920x1080 or higher, so a frame captured at native resolution will comfortably downscale to YouTube's 1280x720 without any loss of sharpness. Going the other direction, upscaling a smaller source to hit that size, is where quality actually suffers, so it's worth starting with the highest resolution version of your video you have.
What Is the Timestamp Overlay For?
It burns the video's timestamp, formatted as HH:MM:SS, directly into the corner of the captured frame. It's most useful in review and feedback workflows rather than for a finished YouTube thumbnail.
If you're sending frames to a teammate for feedback on a screen recording or a product demo, a burned-in timestamp turns a vague note like "the layout looks off around the middle" into something precise, since the image itself carries the exact reference point. Turn it off for anything meant to be a clean, final thumbnail with nothing but the frame itself.
Is It Safe to Upload My Video to This Tool?
Your video never uploads anywhere. Extraction runs entirely in your browser using the WebCodecs and Canvas APIs, so the file is read locally from your device and the captured frames are generated on your machine, not on a server.
Tools that require you to upload footage before processing it don't offer that. For a raw screen recording, an unreleased product demo, or anything you'd rather not send anywhere, that's one less thing to think about. It also means extraction speed depends on your device rather than an upload connection, so a large 4K file processes about as fast as your computer can decode it.
What Do People Actually Use This For?
A video needs a still image to represent it in a lot of places:
- YouTube thumbnails: the strongest thumbnail is often a real, striking frame from the video itself rather than a separately designed graphic, and this captures it at full resolution.
- Course and lesson previews: batch capture turns a recorded lesson into a set of still images for slides or handouts without watching the whole thing back.
- Bug reports and QA: pull the exact frame where something breaks in a screen recording instead of scrubbing a video player and screenshotting around the UI chrome.
- Blog and article covers: grab a representative frame from an embedded video for a post's featured image.
- Time-lapse summaries: batch capture at a longer interval, every 30 or 60 seconds, gives a manageable visual summary of a long recording without watching the full runtime.
If you also need to trim the clip down before or after pulling thumbnails from it, FileReadyNow's Video Trimmer and Video Cropper handle those the same way, entirely in the browser.
Do I Need an Account to Use This Tool?
No. There's no registration, no watermark, and no limit on how many frames you capture. Upload as many videos and pull as many thumbnails as you need.
The one practical limit is file size, videos up to 500 MB. For most recordings, screen captures, and downloaded clips, that's well within range.
Frequently Asked Questions
Is the video thumbnail generator really free?
Yes, with no signup and no watermark added to the captured frames.
What video formats can I upload?
MP4, AVI, MOV, and WebM, up to 500 MB per file.
Can I capture more than one thumbnail from the same video?
Yes. Manual capture lets you grab as many individual frames as you want, and batch capture pulls multiple at set intervals in one pass.
Will the thumbnail be blurry or low quality?
No, as long as the source video is sharp at that frame. The tool captures at native resolution without any recompression.
Can I use this on my phone?
Yes. It works on mobile browsers, tablets, and desktops.
Does my video get uploaded to a server?
No. Extraction happens entirely in your browser, and the video file never leaves your device.
Conclusion
A good thumbnail shouldn't require a screenshot, a crop, and a redo because the browser chrome got in the shot. FileReadyNow's video thumbnail generator gets you the exact frame you want, at the video's full resolution, in a couple of clicks, whether that's one perfect shot for a YouTube cover or a full batch for a course or a storyboard. Next time you need a still from a video, skip the screenshot workaround and pull the real frame instead.
Table of Contents
Recent Posts
PDF to JPG Blurry? How to Convert a PDF Page With Sharp Text
5 days ago
HEX vs RGB vs HSL vs CMYK: Which Color Code Should You Use?
1 week ago
Video Converter Online Free: Which Format to Pick and Why
2 weeks ago
Audio Trimmer Online Free: Cut, Keep, or Remove Any Section
2 weeks ago
How Strong Should Your Password Actually Be in 2026?
3 weeks ago
HEIC vs JPG: Which Should You Actually Use?
1 month ago